

It’s about time for a project and boy, do we all have projects in our piles of woe! For me, it has been slowly adding to a pile of MDF terrain from different sources with the good intention of building a good table out of them.
There is an issue with this of course. Different producers of mdf terrain use different platform heights and connection methods. From the off this produces issues. Especially if you want them to work together on the tabletop. The main idea around this set of terrain was to replace the old cardboard Necromunda starter set terrain etc, that I have had since it’s release, and added to by a friend. It is now looking very worn and played with – which it has.
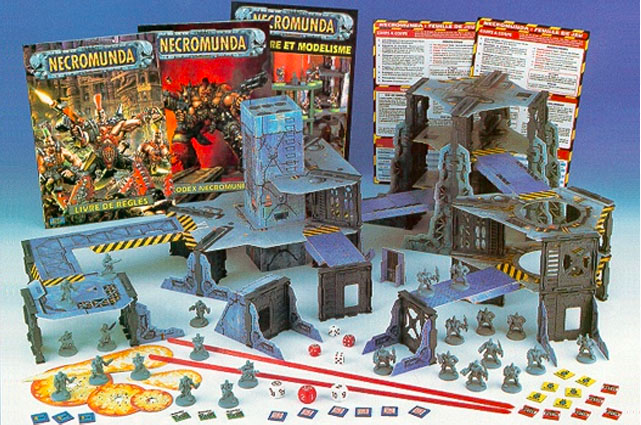
Luckily for me, over the years I also had picked up bulkheads from here and there or where I saw them relatively cheap etc. The answer appeared to me when reminiscing on how good those plastic bulkheads were and how ingenious they became with Games Workshop then releasing a range of 40k buildings using them.
The plan was hatched! I needed to look at a way that I could take advantage of the modularity of the bulkheads combined with the mdf platform terrain. Now, most of it is designed to be taken apart and stored flat, but in reality, MDF is not the material for this. My Product Design degree included studying materials and their best use. The issue with MDF is that it is “medium density fibreboard” which translates to essentially being made of compressed wood fibres, or sawdust.
If you constantly put together and take apart terrain like that, you will find that the edges of MDF start to fray and the fibres start to return to sawdust. PVA is your best friend with this, but for me, I needed something that was going to be easy to replace if it broke and could connect the bulkheads to the MDF.
The material needed to be resilient and also a bit giving as it needed to slide into the “teeth” of the plastic bulkheads that were designed to take cardboard. I briefly considered an expensive laminated cardboard, but then realised I had the answer already. 6milphil, a good friend, runs Slug Industries and I often get some used plasticard from him to help build terrain and for bases etc. It’s been cut and used in the process of making mold boxes for the pieces he produces. It just so happened it is around the same thickness as the cardboard in the old terrain sets.
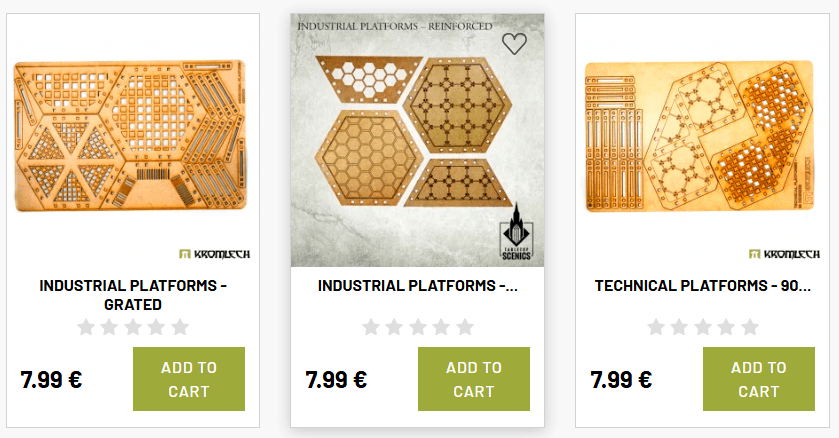
I then impulsively, took advantage of a sale on at Darksphere and ordered some kromlech pieces to test my idea on. Below are just some examples of them:
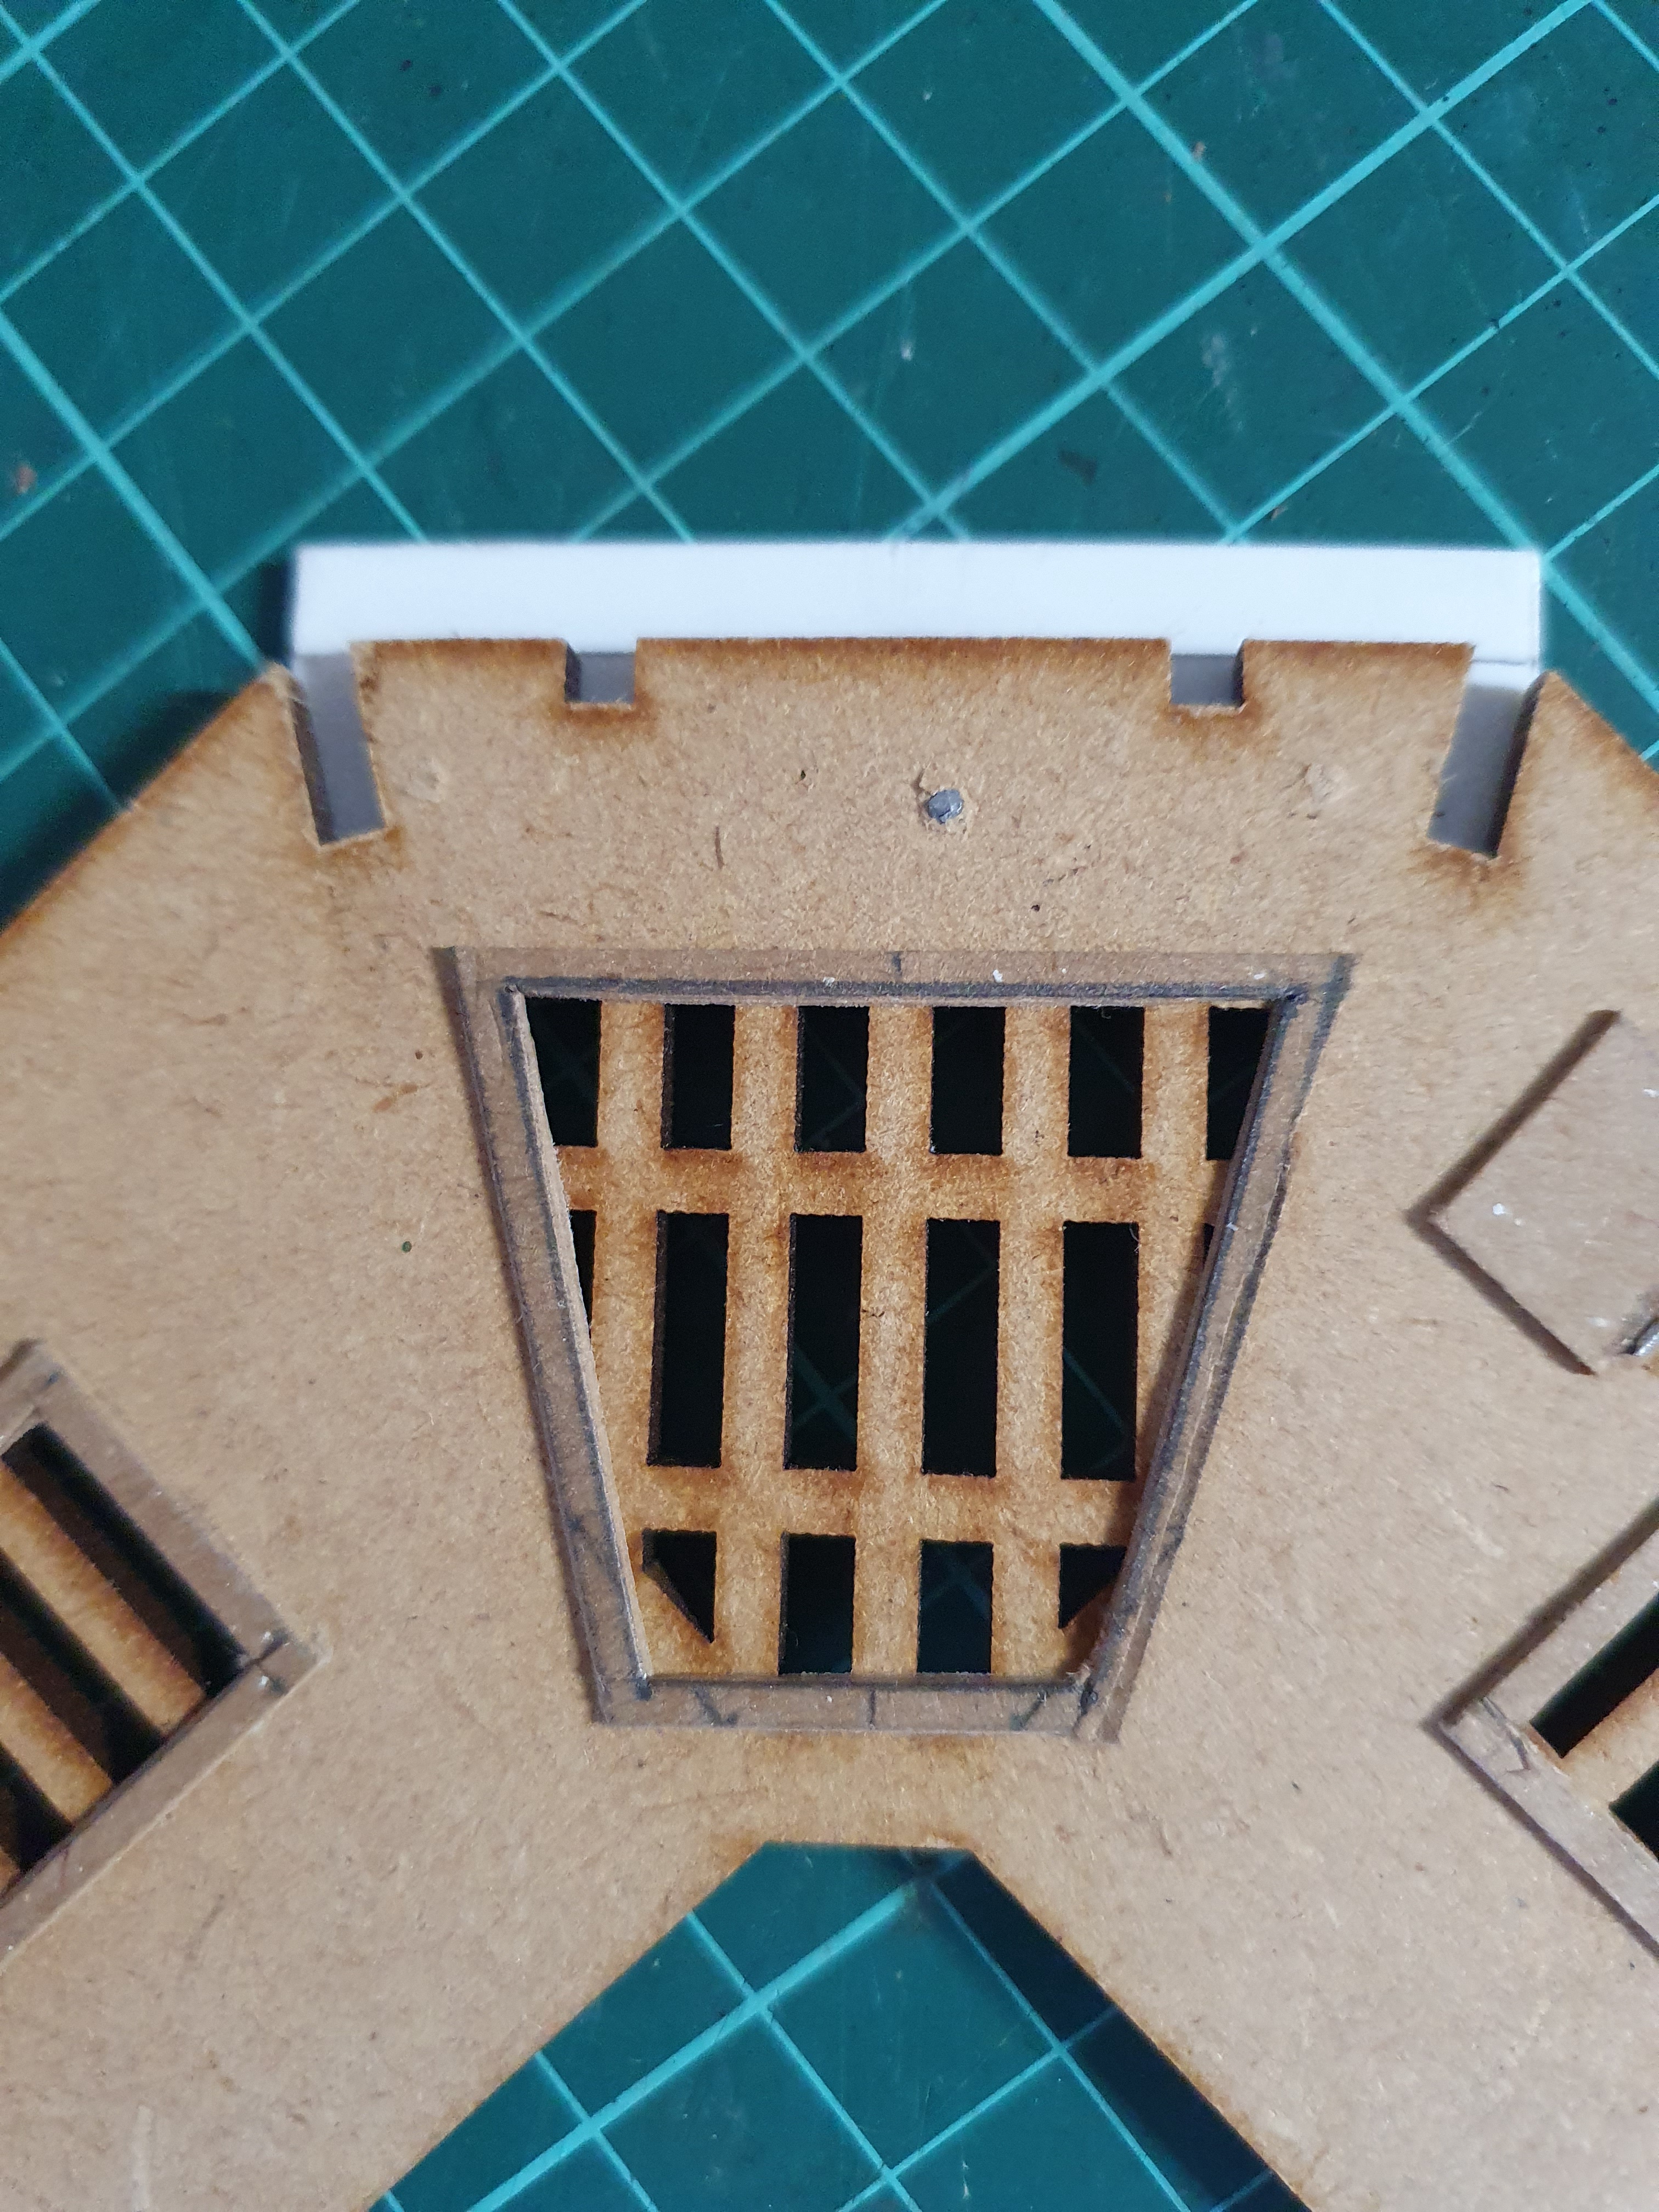
Then I set about adding the plasticard to the platforms! I went for good old fashioned superglue. I did trial using panel tacks, pin drilling through the mdf and the plasticard and inserting the tacks, clipping them flush with the surface underneath and again, supergluing them in place. However, it was time consuming and didn’t seem to make enough of a difference to warrant continuation.
This is an example of what it looks like on a TTcombat piece – I’ll show you more of that one at a later date, but for now, it should illustrate the approach at least.
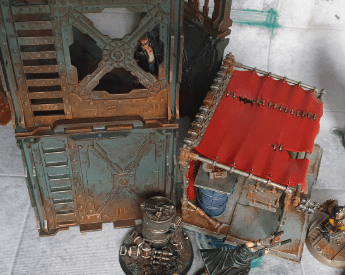
From then on, with the Kromlech hex platforms, it was plain sailing. It was a case of picking out the mix of bulkheads I wanted for a building and then finding a rattlecan clour I wanted to start with.

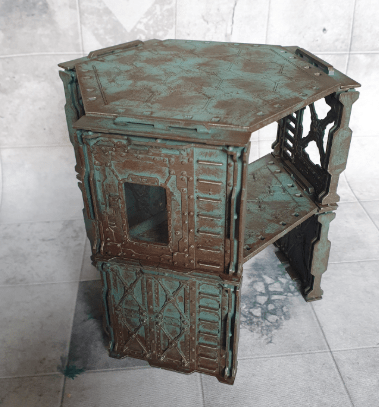
For the first building, I went with Mechanicus Standard Grey as it has an almost green tinge to it. I then got out my Reeves artist acrylic burnt umber and applied this with a sponging technique. The idea is that the burnt umber is where paint has chipped/worn away.

Then I get out a drybrush and a pot of Ryza Rust and hit at the areas where condensation, water falling from above, is likely to collect. This is where the exposed metal is most likely to rust. It’s important to leave some of the burnt umber so it’s not just all rust. I realise that other folks will have their preferred go to for rust effects, but for me, this was about what I had to hand and that was quick and easy to apply.
The last step, which is a bit subtle to capture here, is to find a very bright silver (I used Runefang Steel but have used Vellejo Model Air Silver recently too) and to apply some of this to the edges that are rusted, or burnt umber, to suggest fresh scrapes and damage and to help underline that these are metal bulkheads.
I am happy with the outcome. I do want to revisit this, and the buildings I build like it next, in the future to add further details. Some posters here and there, perhaps some blood splatters and some weird gunk! That will wait though. The priority right now for me, is to be able to put a table together that looks attractive and helps add to the enjoyment of any game.
With this being the first piece, it’s somewhat of a test run, the real confirmation will be replicating it onto a 2nd piece and then a real switch up in colour, more to come!
Mcfonz
